Git Tutorial for Beginners From First Commit to Pull Request
Learn Git by using it: create a repository, make commits, branch, merge, connect a remote and open a pull request, with every command explained.
Git has a reputation for being hard, mostly because tutorials start with its internals. You can do useful work with eight commands and learn the rest as it becomes necessary. This tutorial follows one small project from an empty folder to a pull request. Afterward, Git hooks and scripts that do the boring parts shows how to automate what you now do by hand, and how Git stores data explains what happens underneath.
Commands are for Git 2.47 on Debian 13. Installation is covered in how to install and configure Git.
Step 1: start a repository
mkdir hello-git
cd hello-git
git init -b main
git init creates a hidden .git folder, which holds the whole history. -b main names the first branch. Delete .git and the project is just files again.
Step 2: make a change and look at it
echo "# Hello" > README.md
git status
The status shows README.md under "Untracked files". Git sees the file but does not record it yet.
Step 3: stage and commit
git add README.md
git commit -m "Add README"
git log --oneline
Staging with git add chooses what goes into the next commit; git commit saves it. The log prints one line per commit, with an abbreviated hash and the message. Staging is a separate step on purpose, so you can commit part of your work, as the staging area post shows. If Git asks who you are, set your name and email, as in setting up Git identity.
Step 4: see what changed
echo "A first project." >> README.md
git diff
git add README.md
git diff --staged
git diff shows changes not yet staged. git diff --staged shows what the next commit will contain. Look at both before you commit; it is the cheapest review you will ever get.
Step 5: branch
git commit -m "Describe the project"
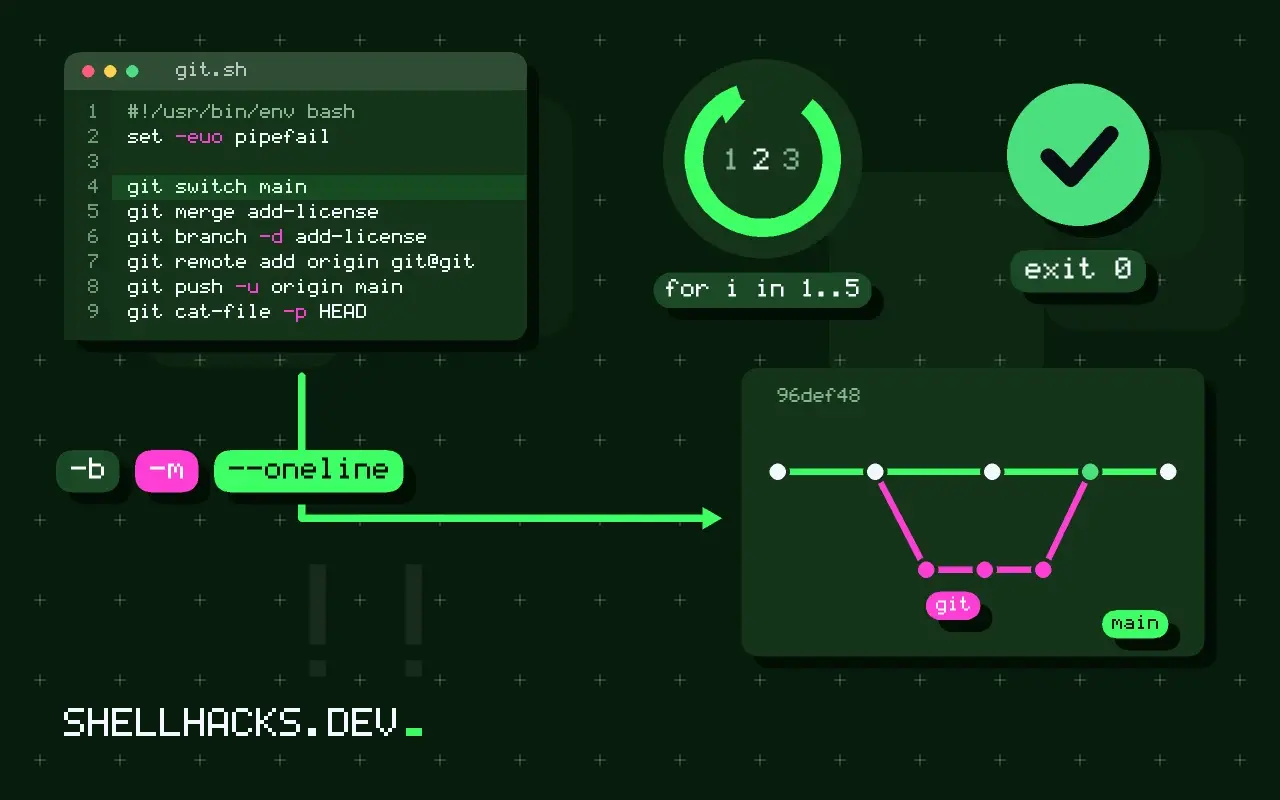
git switch -c add-license
echo "MIT" > LICENSE
git add LICENSE
git commit -m "Add license"
A branch is a movable label on a commit. git switch -c creates one and moves to it. Work on a branch for each change and the main branch stays clean.
Step 6: merge
git switch main
git merge add-license
git branch -d add-license
Because main had no new commits, Git "fast-forwards": it just moves the label. If both branches changed, Git creates a merge commit, and if the same lines changed it stops with a conflict that you resolve in the file, then git add and git commit.
Step 7: share it
git remote add origin [email protected]:YOU/hello-git.git
git push -u origin main
Replace the address with your own empty repository. -u remembers the pairing, so later a bare git push and git pull work.
Step 8: open a pull request
Make a branch, commit, then git push -u origin my-change. The hosting service prints a link, or shows a button, to open a pull request. Reviewers comment, you push more commits to the same branch, and someone merges it. Git itself has no concept of a pull request; it is the hosting service's review layer on top of branches.
If you get lost
git statussays what is staged, what is not and what branch you are on.git log --oneline --graph --alldraws the history.git restore FILEdiscards uncommitted changes in a file. This one is permanent.git refloglists where HEAD has been, which is how lost commits are found.
What each command changed on disk
Git feels abstract until you look at what a commit leaves in the .git directory. After the first commit in a new repository there are exactly three objects: the file's content, the directory listing that names it, and the commit that points at that listing. The commands below run on Git 2.55, and the same shapes hold on any Git from the last decade.
git cat-file -p HEAD
git cat-file -p 'HEAD^{tree}'
git count-objects -v | head -n 1tree 57e9529754dc514a3ec10db2ff882018fbe1fcbf
author Alex <[email protected]> 1767247200 -0600
committer Alex <[email protected]> 1767247200 -0600
Add greeting
100644 blob ce013625030ba8dba906f756967f9e9ca394464a greeting.txt
count: 3
The commit holds a tree hash, an author, a committer and a message. The tree names one file, greeting.txt, and gives the hash of its content. Three objects, three hashes. That is the whole model, and the later steps in this tutorial only add more of these. A branch is a small file holding one commit hash, and HEAD is a file saying which branch you are on. Knowing this makes the confusing parts, such as why a branch costs nothing to create, ordinary.
Writing a first-time workflow you can repeat
The same loop covers most daily work: change files, look at what changed, stage the part that belongs together, commit with a message, and repeat. Two commands keep you oriented and are cheap enough to run constantly. git status -s prints one line per changed file, with two letters for the state of the index and the working tree. git log --oneline --graph --all draws the branches. If you are ever unsure what a command will do, run those two first and last, and you will see whether the result matches your expectation.
git status -s
git log --oneline --graph --all
Make small commits. A commit that does one thing is easy to describe, easy to review and easy to undo, and the habit costs nothing once the loop above is automatic. Commit before you try something risky, so there is a known good state to return to.
What a pull request adds
A pull request is not a Git feature. It is a feature of the hosting service: a request to merge one branch into another, with a place for review comments, automated checks and an approval record. Git itself only knows branches and merges. That is why the workflow in step 8 differs between GitHub, GitLab and Bitbucket in names and buttons while the commands underneath stay the same. Push your branch, open the request in the web interface, address review comments with more commits on the same branch, and let the service merge it. If your team squashes on merge, your branch's individual commits collapse into one, so write the pull request description for the reader of the main branch's history.
What to do next
You now have the loop: change, stage, commit, branch, merge, push. Use it on a real project for a week, and look things up when they go wrong, since each lookup teaches a command in context. Read the output of git status before every command; it tells you what the next step is. Then pick one of the topics in this series to go deeper, such as the staging area or amending a commit, whichever you ran into first.
What this leaves out
Rebasing, cherry-picking, stashing, submodules and large-file handling all wait. The reference for everything is the free Pro Git book, and every command has a page at git-scm.com/docs. If a command seems to have destroyed work, read how to undo the last commit before trying anything else.