How to Expose and Publish Ports in Docker the Safe Way
Publish Docker ports safely: the difference between EXPOSE and -p, binding to localhost, the firewall bypass, random ports and how to check what is listening.
Running a database in Docker with -p 5432:5432 and finding it on a public scanner a week later is a regular story. Publishing a port is a decision about who can reach the service, and the shorthand hides that. This post explains the options and the one default to change. It relates to container networking. The commands assume Docker Engine 27 on Debian 13 with ufw enabled.
EXPOSE does not open anything
FROM nginx:1.27
EXPOSE 80
EXPOSE 80 records that the app listens on 80. It is documentation, and tools use it with -P. Containers on the same user-defined network reach each other on any port, with or without EXPOSE. To reach a container from the host or beyond, publish.
Publish with -p
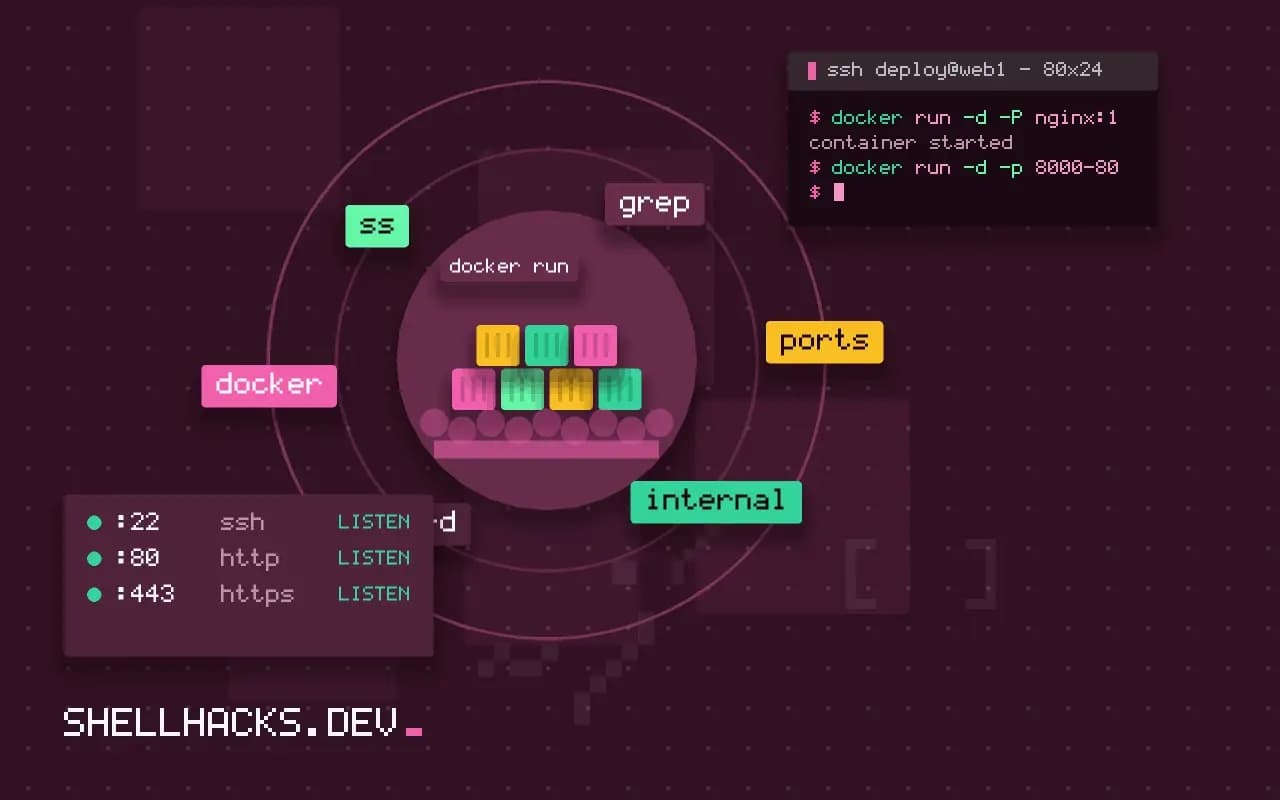
docker run -d --name web -p 8080:80 nginx:1.27
docker run -d --name web2 -p 127.0.0.1:8081:80 nginx:1.27
docker port web
ss -ltnp | grep -E '8080|8081'80/tcp -> 0.0.0.0:8080
80/tcp -> [::]:8080
LISTEN 0 4096 0.0.0.0:8080 ... users:(("docker-proxy",pid=2211,fd=7))
LISTEN 0 4096 127.0.0.1:8081 ... users:(("docker-proxy",pid=2250,fd=7))
The first publishes on every interface, including the public one. The second only on loopback, so only the host (or an SSH tunnel) can reach it. Use the loopback form for databases, admin panels and anything behind a reverse proxy running on the same host. In Compose, write the address in the string: "127.0.0.1:5432:5432".
The firewall bypass
Docker inserts its own rules into iptables, in the DOCKER chain used for forwarded traffic. Packets to a published port are forwarded to the container, so they never hit the INPUT chain where ufw and firewalld rules sit. A host with ufw deny 8080 still serves 8080 to the world if the port is published. Fixes, in order of simplicity: bind to 127.0.0.1; put restrictions in the DOCKER-USER chain, which Docker leaves for you; or set "iptables": false in /etc/docker/daemon.json, which then makes you manage NAT yourself.
sudo iptables -I DOCKER-USER -i eth0 ! -s 10.0.0.0/8 -p tcp --dport 8080 -j DROPThis example drops traffic to 8080 on the public interface unless it comes from a private range. Test from another machine, since a test from the host itself goes through the loopback path.
Random and range publishing
docker run -d -P nginx:1.27
docker run -d -p 8000-8002:8000-8002 myapp
-P publishes every exposed port on a random high port on the host, and docker port shows which. It suits tests that run in parallel and cannot share fixed ports.
Where this does not apply
If the service is reached only by other containers, publish nothing: the less that listens, the less to defend. Rootless Docker uses a user-space proxy and has its own rules for ports below 1024. With a reverse proxy in front, publish only the proxy, as in nginx or Caddy as a reverse proxy. For a wider hardening list, see hardening containers.
The difference between exposing and publishing
The word expose means two things in Docker, and only one of them touches the network. The EXPOSE instruction in a Dockerfile is documentation. It records which port the application listens on, and tools such as docker run -P read it, but it opens nothing by itself. Publishing, with -p or the ports key in Compose, creates the actual mapping from a host port to a container port, implemented with NAT rules. A container that listens on a port without either is still reachable by other containers on the same network, since networking between them does not depend on publishing. So an unpublished port is not a protected port, just one that is closed to the outside, and a container on a shared network can still reach it.
Publishing has a default that surprises people. -p 8080:80 binds to all interfaces on the host, which means 0.0.0.0, so the service is reachable from any machine that can reach the host. For a database or an admin panel that only the local machine needs, bind to the loopback address, -p 127.0.0.1:5432:5432.
Why a host firewall may not protect you
Docker manages iptables rules itself. Published ports are handled in the NAT and forwarding chains, ahead of the rules that tools such as UFW and firewalld add to the input chain, so a rule that blocks port 5432 may have no effect on a port published by Docker, because the traffic is forwarded to the container and never passes the input chain. This surprises many administrators, and has exposed databases to the internet on hosts that looked locked down. The place to restrict published ports is the DOCKER-USER chain, which Docker consults first and never overwrites, or the binding address itself. Limiting the binding to loopback or to a private interface is the simplest and most visible control, and it does not depend on firewall behavior.
Check from outside. Scan the host's public address from another network with a port scanner and compare the result with what you intended. A listing of listening sockets on the host, with ss -tlnp, shows the proxy process for each published port and the address it listens on.
Safer designs
The safest pattern is to publish as little as possible. Put one reverse proxy in front, publish only its ports, and keep every other service on an internal network with no published ports at all. The proxy reaches them by name over the shared network. Mark a network as internal when its containers need no outbound access, which blocks traffic to the outside as well. For services that only the host needs, such as a metrics endpoint, bind to 127.0.0.1 and reach them over an SSH tunnel. Dynamic publishing with -P picks random high ports, which suits tests and shows the assigned port with docker port, and is a poor fit for anything with a stable address. Review published ports periodically with docker ps, since a compose file edited for a quick test and forgotten is how a development database ends up on the public internet.
Checking what is actually open
Do not trust the compose file alone to tell you what the host exposes. Run docker ps --format with the ports column to list mappings, and read each address: 0.0.0.0 or a double colon means all interfaces, and 127.0.0.1 means local only. Then confirm from outside. A scan from another machine, or an online port check against your public address, shows what the internet can reach, which is the only view that counts. Repeat the check after changing firewall rules or upgrading Docker, since the daemon rewrites its rules on restart, and a rule you added to the wrong chain may vanish without a message.
Docker has an option, "iptables": false, that stops it from managing rules, and it moves all responsibility for NAT and forwarding to you. It is rarely worth it, as it breaks networking for containers until you write the rules yourself. Binding to specific addresses and putting a proxy in front is simpler and easier to audit. Where the host sits behind a cloud security group, treat that as a second layer and not as a replacement for correct bindings.
See Docker's port publishing documentation and packet filtering and firewalls.