How to Save and Load Images Without a Registry the Right Way
Move Docker images without a registry using docker save and docker load, compress the archive, include several images, and compare with docker export.
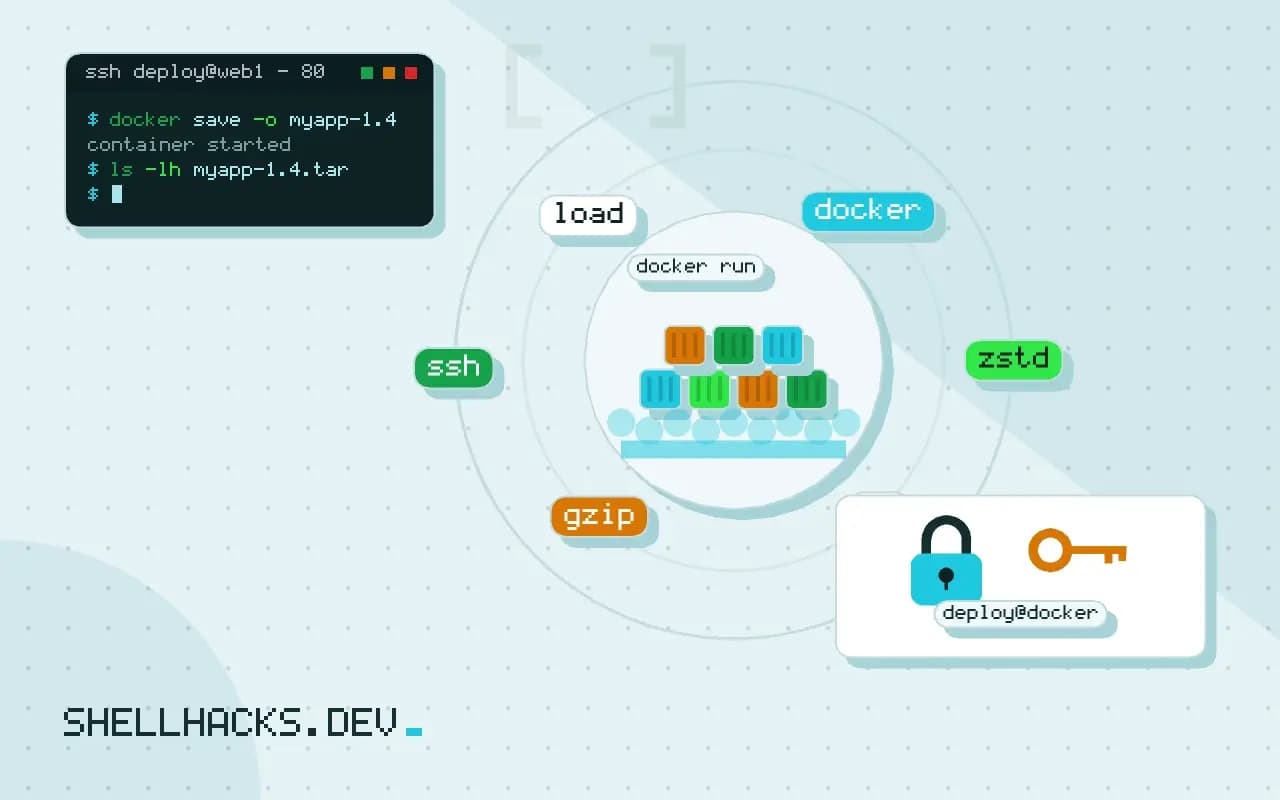
A registry is the normal way to move images, but a production host with no outbound access, a build on a laptop that needs to reach a test server, or a one-off transfer are better served by a file. docker save and docker load package an image as a tar archive. The commands use Docker Engine 27 and the formats described in the OCI image specification; the registry route is in running a private registry.
Save and load
docker save -o myapp-1.4.tar myapp:1.4
ls -lh myapp-1.4.tar
docker load -i myapp-1.4.tar-rw------- 1 alice alice 187M Nov 3 09:41 myapp-1.4.tar
Loaded image: myapp:1.4
The archive contains every layer of the image, its tags and its configuration, so load recreates the same image with the same ID. Layers already present on the target are not duplicated. Save by name and tag, or by image ID if the tag is missing, and note that saving an untagged image restores it untagged.
Compress and stream
docker save myapp:1.4 | gzip > myapp-1.4.tar.gz
docker save myapp:1.4 | zstd -T0 > myapp-1.4.tar.zst
zstd -dc myapp-1.4.tar.zst | docker load

docker save myapp:1.4 | ssh deploy@web1 'docker load'
Layers are already compressed in registries, but a saved archive stores them uncompressed, so compressing the whole file often cuts it by half or more. docker load reads gzip-compressed input directly on recent versions, and a pipe handles other formats. Streaming over SSH avoids a temporary file on either side, which matters when disk is tight. Compare compressors in gzip, bzip2, xz and zstd.
Several images at once
docker save -o stack.tar myapp:1.4 postgres:16 redis:7
docker load -i stack.tar
One archive for several images stores shared base layers once, so it is smaller than three separate saves. A script that deploys an air-gapped stack typically saves everything in the Compose file in one go, for example with docker compose config --images | xargs docker save -o stack.tar.
save is not export
docker export web -o web-fs.tar          # a container's filesystem, flattened
docker import web-fs.tar myapp:flat      # becomes an image with one layer
export writes only the filesystem of a container, with no layers, tags, environment variables, ENTRYPOINT or CMD. An imported image therefore needs those set again with --change. Use export to flatten or to inspect a filesystem and save to move images.
What is inside the archive
The tarball produced by docker save contains a manifest file, one JSON configuration per image, and a directory per layer holding a layer.tar. Newer Docker releases also write the OCI layout files, an index.json and a blobs directory addressed by SHA-256, so the archive can be read by other tools. Listing it with tar -tf myapp-1.4.tar | head shows this structure, and extracting the manifest with tar -xOf myapp-1.4.tar manifest.json prints the tags and layer names without loading anything. That inspection is the right check before moving an archive into a restricted network, because it confirms the name, the tag and the number of layers.
The archive keeps layers in their uncompressed form, which is why it is larger than the size shown by a registry. Image history is preserved, so the file also includes build instructions in the configuration, and secrets baked into an earlier layer travel with the image. Check images before saving them for transfer outside the organisation.
Air-gapped and constrained environments
The usual reason for this workflow is a host with no route to a registry. The sequence is the same each time: on a connected machine pull the images, save them with their tags, compute a checksum, copy the file by approved media, verify the checksum on the target and load. Keep a manifest of image names and digests with the archive, so that the target side can verify that what it loaded is what was approved, using docker image inspect --format '{{.Id}}' against the recorded value. For repeated updates, a small private registry inside the isolated network is less work than archives, as it transfers only changed layers and works with the normal deploy tooling.
Platform and format pitfalls
An archive made on an ARM laptop contains arm64 layers, and loading it on an amd64 server succeeds, then fails at run time with an "exec format error". Save the platform you need: pull with --platform linux/amd64 before saving, and verify with docker image inspect --format '{{.Architecture}}'. Docker's containerd image store, the default on recent releases, saves multi-platform images with all platforms by default in some versions, which makes the file much larger; the --platform option on docker save, available in recent versions, narrows it to the one needed.
Podman reads Docker archives with podman load, and the reverse also works, though the on-disk format option may need to be set for older Docker versions to read an archive written by Podman. For Kubernetes nodes using containerd, ctr -n k8s.io images import file.tar loads the archive into the namespace the kubelet reads, and loading it into the default namespace is a frequent mistake that makes the image invisible to the cluster.
Size, speed and integrity
Compression is the main lever. zstd -T0 -3 gives good ratios at high speed on multicore machines, and xz compresses better and takes much longer. Test with your own image, because layers that are already compressed data, such as model weights, do not shrink. Always transfer a checksum and compare it after the copy, with sha256sum -c, since a truncated archive can load partially and report an error only for the missing layer.
A repeatable transfer script
For a transfer done more than once, put the steps in a script so that nothing depends on memory: pull the images listed in a text file, save them into one archive, write a checksum next to it, and print the image names with their ids. On the target, a companion script verifies the checksum, loads the archive and checks that each expected tag now exists with docker image inspect. Keeping the image list in version control gives an audit trail of what was shipped to the isolated site and when, which regulated environments often require.
When to prefer a registry after all
Archives suit a handful of images and rare transfers. Past that, the manual steps become the main cost: someone has to remember which archive holds which version, copy it, load it and clean up. A pull-through registry or a small private one inside the target network replaces all of that with the normal pull command and sends only changed layers on updates.
Where this does not apply
A saved archive has no signature or provenance, so check it with sha256sum, as in the checksum guide, and only load archives you trust, since the daemon unpacks them as root. Archives are large and have no delta updates, so each transfer repeats unchanged layers on the wire; a registry transfers only the missing layers, which is why it wins for frequent updates. Multi-platform images saved on a daemon that stores only one platform lose the others. See the docker image save reference and the OCI image specification. When registry push is possible, see pushing to Docker Hub and GitHub.