How to Write READMEs and Docs for Command Line Tools
Write a README for a command line tool: install, a first command with real output, usage, exit codes and configuration, kept in sync with the help.
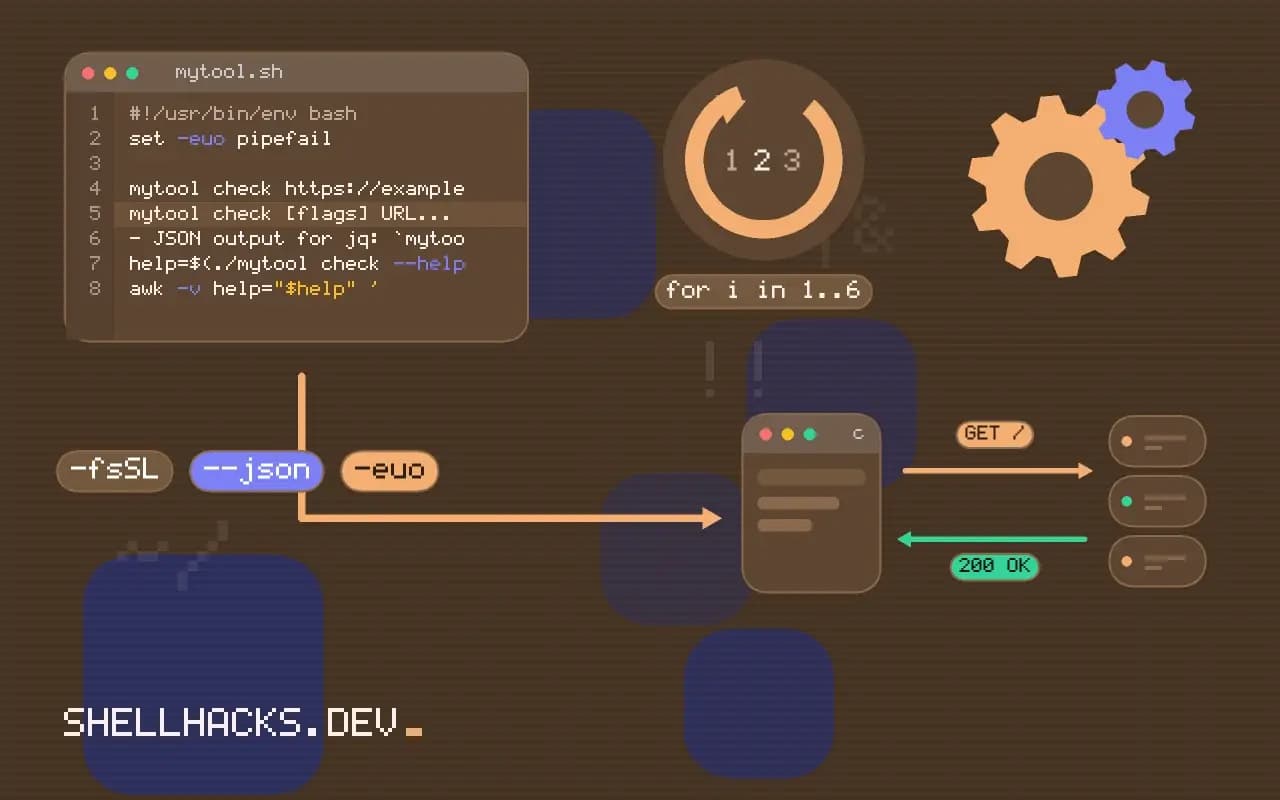
People decide whether to try a command line tool in the first thirty seconds of its README. They want to know what it does, how to install it and whether the first command works, in that order, without scrolling past badges and a history of the project. The rest of the document is reference that they will return to. This post gives a structure that works and the techniques that keep it honest. It ties into terminal recordings, man pages and designing the CLI.
The skeleton
# mytool

Check a list of URLs and report which ones are down.

## Install

    brew install example/tap/mytool
    # or: curl -fsSL https://example.org/install.sh | sh
    # or: go install example.org/mytool@latest

## Quick start

    mytool check https://example.org https://example.org/missing

Output:

    https://example.org           200   84 ms
    https://example.org/missing   404   61 ms

Exit status is 1 when any URL fails, so it works in scripts and CI.

## Usage

    mytool check [flags] URL...

(generated from `mytool --help`)

## Examples

- Read URLs from a file: `mytool check -f urls.txt`
- JSON output for jq: `mytool check --json URL | jq .`

## Configuration
## Exit codes
## Uninstall
## Contributing
## License
The order matters. The one-line description tells a stranger whether to keep reading. The install section gives each supported route as a command, with the one most users need first. The quick start is one command and its real output, which proves the tool works and shows what it looks like; it should run on a clean machine with no setup. Details come after.
Make examples copyable
Write commands without a leading $ so a click on the copy button or a triple-click gives a runnable line, and put the output in a separate block or with a heading "Output". Show realistic data, not foo and bar. For a command that takes time or needs a service, say so. For anything destructive, show the dry-run first. Name the platforms you support and test on.
Generate the options from the tool
#!/usr/bin/env bash
set -euo pipefail
help=$(./mytool check --help)
awk -v help="$help" '
  /<!-- help:start -->/ {print; print "```text"; print help; print "```"; skip=1; next}
  /<!-- help:end -->/   {skip=0}
  !skip {print}
' README.md > README.new && mv README.new README.md
Between two marker comments in the README, the script replaces the options section with the current --help output. Run it in CI and fail the build if it produces a diff (git diff --exit-code README.md). A hand-written list of flags is out of date within a release; the generated one cannot be. Markdown comments in the README source are fine for this; they do not appear to readers.
Keep examples true
grep -E '^    mytool ' README.md | sed 's/^    //' | while read -r cmd; do
  echo "+ $cmd"; eval "$cmd" >/dev/null || echo "FAILED: $cmd"
done
A crude script that extracts the indented commands and runs them catches renamed flags and removed subcommands. Better is a proper test, such as a Bats test per documented example, or golden-file tests for the output (golden files). The expense is small and the payoff is that the quick start always works.
The sections people look for
- Exit codes: a table of 0, 1 and 2 with their meanings, as in designing exit codes; scripts depend on it.
- Configuration: file locations, environment variables and the order of precedence (flag, environment, file, default).
- Troubleshooting: the three errors users actually hit, with the cause and fix.
- Uninstall: how to remove the binary, config and cache.
- Versioning and changelog: link to releases; see release automation.
Where this does not apply
A README is not the whole documentation. A large tool needs a manual site, and a man page serves people who live in the terminal; keep the README as the front door and link outward. Do not put marketing language and long feature lists above the quick start. Internal tools still benefit from the structure, with the install step replaced by where to get the binary. For distribution see publishing a tool through Homebrew and apt.
What readers want in the first screen
A person who lands on the README of a command-line tool wants three answers quickly: what it does, how to install it and what a typical use looks like. Put those first. One sentence says what the tool does and for whom, naming the problem in the reader's words and not the project's internal vocabulary. A short example follows, a real command and its real output, since seeing the result teaches more than a paragraph of description. Then installation, with the most common route first and exact commands that can be copied, and a note on what is required. Everything else, the full option list, the configuration, the design notes, can come later, linked from a short table of contents if the file is long. People scan, and the first screen decides whether they continue. Avoid opening with badges, a long history of the project or a philosophy statement, none of which helps someone who wants to try the tool in two minutes.
State the status honestly: whether the tool is stable, which platforms it has been checked on and where to report problems. A README that sets accurate expectations earns more trust than one that promises everything.
Examples that can be copied and that stay true
Examples are the most used part of the document, so make them work when pasted. Put commands in code blocks with the language marked, without a leading prompt character, since a copied $ makes the command fail. Show output in a separate block, so the command block can be copied whole. Use realistic, small sample data that the reader can create, and show where it comes from. Cover the common path first and one or two useful variations, and avoid dumping every flag. Examples rot as the tool changes, so test them: extract the commands in CI and run them, or use golden-file tests that compare the documented output with the real output, and fail the build when they differ. Generate the option list from the tool's own help output at release time, so the README and the program cannot disagree, and keep prose around it for the explanation that a list of flags cannot give.
Mention the version the examples assume, in the sentence where it matters, and not in a stamp at the top, so a reader on a different version knows which behavior to expect.
The sections people look for, and what to leave out
Readers come back to a README for specific things. They look for installation and uninstallation, for the list of options and the configuration file location, for exit codes if they use the tool in scripts, for what to do when something fails and for how to contribute. A troubleshooting section built from the questions people actually ask is more valuable than most other content, and it grows from the issue tracker. Link to the manual page for the full reference, and to a changelog for what changed between versions. Say how the tool treats data it reads and writes, since people running a tool on production files want to know whether it modifies them and whether it sends anything over the network. Leave out what belongs elsewhere: a long tutorial can live in a docs folder, and internal architecture notes in a separate file. Keep the license and the security contact visible. A README is finished when a new user can install, run an example and find help without asking anyone.
See Command Line Interface Guidelines on documentation and Make a README.