How to Use Terminal Recording for Docs With vhs or asciinema
Record terminal sessions for docs with asciinema and VHS: text recordings versus GIFs, scripted tapes, embedding, CI regeneration and keeping secrets out.
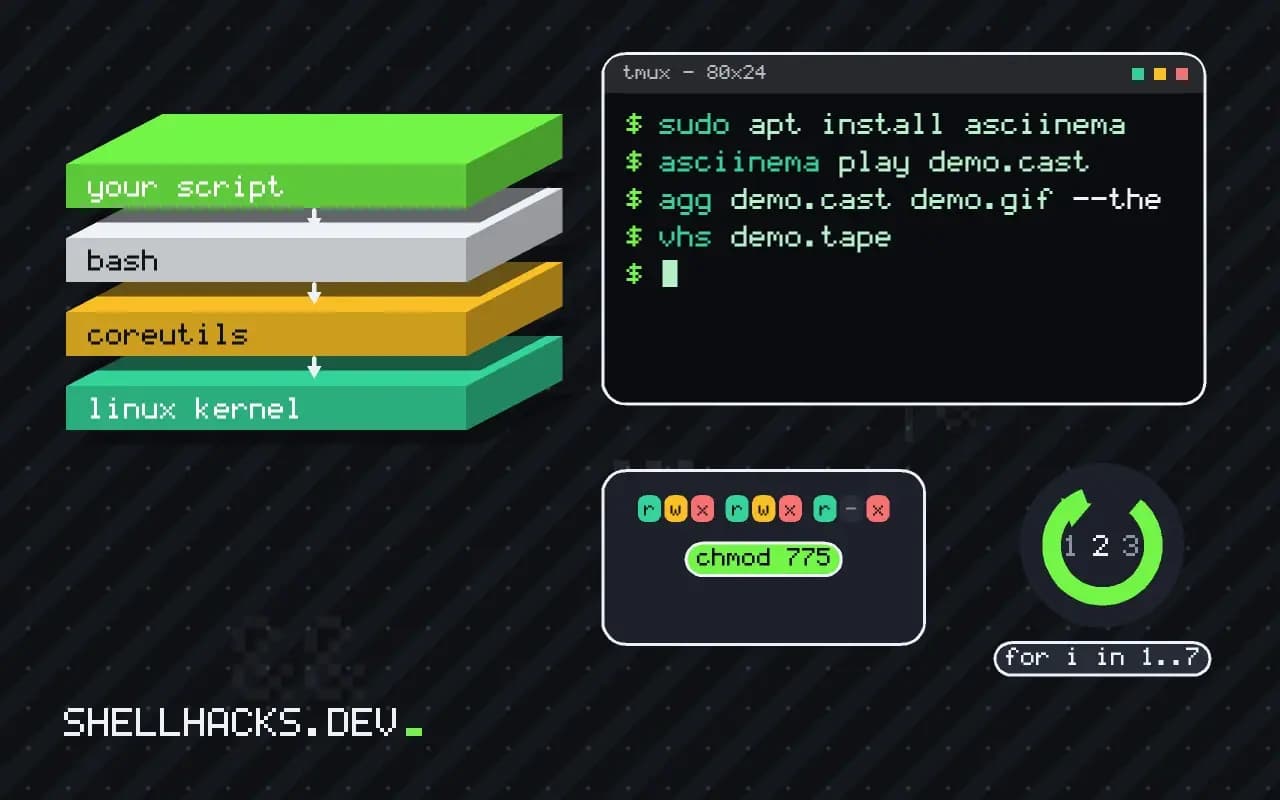
A README that says "run the tool and you get a nice table" is weaker than one that shows it happen. A short terminal recording does that, and a stale one is worse than none, because it shows behavior the tool no longer has. Two approaches work: record by hand with asciinema, or script it with VHS and regenerate on every release. This post covers both and the care a public recording needs. It belongs with writing a README for a command line tool. Examples use asciinema 3.0, agg 1.5 and VHS 0.9.
asciinema: record what you do
sudo apt install asciinema
asciinema rec demo.cast --idle-time-limit 1.5 --title "mytool quick start"
# run your commands, then exit the shell with Ctrl-D
asciinema play demo.cast
The recording captures the terminal output with timing as a text file, a few kilobytes for a minute of work. --idle-time-limit shortens long pauses on playback. Because it is text, it can be searched, diffed and edited: remove a typo or a secret by opening the file. Embed it with the asciinema player on a web page, or upload it to asciinema.org (public by default, so check before uploading). To produce a GIF for a README, where scripts cannot run, convert it:
agg demo.cast demo.gif --theme dracula --font-size 16The text form is better where you can use it: viewers can copy commands from the player. A GIF cannot be copied from, so show the commands in a code block as well.
VHS: script it
Output demo.gif

Set Shell "bash"
Set FontSize 16
Set Width 1000
Set Height 500
Set TypingSpeed 50ms

Type "mytool init"
Enter
Sleep 1s

Type "mytool list --format table"
Enter
Sleep 2s

Type "mytool export --output report.csv"
Enter
Sleep 2s
vhs demo.tapeA tape is a script of what to type and when to pause, and VHS runs it in a real terminal and renders the result. The advantage is reproducibility: the recording comes from a file in the repository, not from one person's take on one afternoon, so anyone can regenerate it. VHS needs ttyd and ffmpeg installed, or its container image. Because it runs your actual tool, the output is always what the tool does at that version. It can also output .mp4, .webm and a series of PNGs, and a Screenshot command takes a still.
Keep docs current
on:
  push:
    tags: ["v*"]
jobs:
  record:
    runs-on: ubuntu-24.04
    steps:
      - uses: actions/checkout@v4
      - uses: charmbracelet/vhs-action@v2
        with:
          path: demo.tape
      - run: git add demo.gif && git commit -m "docs: update demo" && git push
Regenerating the recording when you release keeps it matching the code. Review the result before it ships, because a changed output will show in the diff of the image only if you look. A failed tape (a command that errors) produces a GIF of the error, so check the step succeeded.
Make it clean and safe
- Shorten the prompt:
export PS1='$ 'before recording hides usernames and paths. - Use a clean environment:
env -i HOME=/tmp/demo PATH=/usr/local/bin:/usr/bin:/bin bash --norc. - Never record secrets: tokens in environment variables, real hostnames or private repository paths. Watch the whole recording, and grep the cast file for strings that should not be there.
- Use fake data in fixtures so output is stable and harmless.
- Keep it short: under thirty seconds, one task.
Accessibility and size
A GIF has no text for screen readers or search engines. Put the commands and expected output in the README as text, and treat the recording as an addition. Large GIFs slow pages; prefer a short loop, a modest terminal size and a video or cast embed for anything longer.
Where this does not apply
Interactive full-screen programs record poorly with typed input and need careful tape timing. A tool whose output changes between runs (timestamps, random IDs) makes a recording different each time, and a fixed seed or a fixture helps. For quick one-off sharing, a pasted text block is more useful than any recording. For the broader documentation structure, see writing a man page.
Related reading: the same care applies when you record a session for a bug report. See asking a good question about a failing script and minimal reproducible scripts for what to include, and what to leave out, in anything you publish.
How an asciinema recording works and who can see it
The asciinema rec command records what is printed in a terminal session, together with the timing, into a small text file, a cast. Because it stores text and not video, the file is tiny, the text can be selected and copied in the player and the recording looks sharp at any size. You replay it locally with asciinema play or embed it on a web page with the player. The hosted service at asciinema.org lets you upload and share a link, and an uploaded recording is accessible to anyone with the link, so treat an upload as publishing. The recording captures everything that appears on the screen: the prompt with your user and host name, the paths of your directories, environment variable values that a command prints, tokens if a command echoes them, and mistakes. Review a recording before sharing, and the cast file is plain text so you can search it for secrets and edit it. Many teams run their own server, or keep the file in the repository and render it without an upload.
Control the content. Set a clean prompt with PS1='$ ', run in a fresh directory with sample data, and limit idle time with the idle option set to two seconds so long pauses are cut.
Scripted recordings with VHS
VHS records from a script instead of from a live session. A tape file lists the actions: Output demo.gif names the result, Set FontSize 18 and Set Width 1200 choose the look, Type "ls -l" types text with a realistic delay, Enter presses the key and Sleep 2s waits. Running vhs demo.tape starts a headless terminal, plays the script and writes a GIF, an MP4 or a WebM file. The benefit over live recording is repeatability: the demo is code, kept in version control, and regenerated whenever the tool changes, so the documentation shows the current output and not the output from the version that existed when someone last recorded. The tool needs a few dependencies, including ttyd and ffmpeg, which the project documents. Because it runs your real commands, use a clean environment and sample data, and make sure the script is deterministic, with no output that includes the date, the machine name or a random value, or every regeneration produces a different file and a noisy diff.
Keeping recordings true and the accessibility cost
A recording that shows an old interface is worse than none, because readers believe it. Regenerate demos in CI when the tool's release is built, and fail the build if the tape's commands fail, which doubles as a smoke test of the features shown. Keep each recording short, ten to thirty seconds, with one idea, and put the commands also as text in the page, in a code block users can copy, since a GIF cannot be copied or searched, and screen reader users cannot read it. Give the image an alternative text that says what it shows, avoid fast flashing or constant motion that makes reading hard, and watch the file size: a long GIF can be megabytes, while a cast file or an MP4 is far smaller. Offer a pause or a static screenshot where the recording matters for understanding. The recording supplements the written documentation, and the text is what readers use when they come back to look something up.
See the asciinema documentation and the VHS project.